
Fleet policy
Maintenance is a controlled workflow, not occasional cleaning
Professional fixtures move, heat, travel, hang overhead and communicate with a control network; each risk needs an inspection owner and record.
A useful maintenance program defines what technicians inspect before every use, after transport, at scheduled intervals and after a fault. It identifies which checks are visual, which require a functional test and which may only be completed by trained service personnel. The exact manufacturer manual and destination-market safety rules take priority over a general checklist.
Assign every fixture an asset ID and link it to model, serial number, purchase batch, firmware, operating personality, service history and parts replacement. Without this record, recurring issues can look like unrelated one-off events. With it, a rental manager can see whether faults follow a transport case, rig position, firmware revision, component batch or maintenance practice.
| Trigger | Typical scope | Record |
|---|---|---|
| Before each deployment | Exterior, lens, rigging, connectors, startup, movement and basic control | Prep checklist and fixture ID |
| After transport or return | Impact, moisture, missing hardware, cable condition and reported faults | Return inspection and quarantine status |
| Scheduled preventive service | Cleaning, fastening, movement, cooling, control and extended functional sequence | Service date, technician and results |
| After repair or firmware change | Affected functions plus regression and safety checks | Parts, revision, corrective action and retest |
Rental workflow
Use return inspection to catch transport and site damage early
The best time to document damage is before the fixture is cleaned, moved to another case or mixed with the fleet.
At return, check the case, fixture ID and accessory set before powering the unit. Look for impact marks, cracked lenses or covers, loose handles, deformed brackets, missing fasteners, cable damage, blocked vents and signs of moisture or contamination. Ask the crew for fault notes and preserve photos before cleaning. If the unit was exposed to rain, dust, confetti fluid or extreme temperature, record the condition and follow the manufacturer guidance before energizing.
During prep, check the menu, start address, personality and expected firmware. Run homing and basic control while listening for abnormal noise and observing hesitation or alignment errors. Test power and data connectors for secure engagement without forcing them. Check that safety attachment points and supplied rigging components are present and undamaged.
The rental fleet selection checklist explains how handling, case layout and serviceability should influence the original purchase. Maintenance records provide the project information needed to refine those selection decisions for the next fleet cycle.
- Confirm fixture and case asset IDs match.
- Photograph impact, moisture or missing hardware before intervention.
- Quarantine suspect units with a visible status label.
- Record the crew's symptom description in their own words.
- Do not erase errors or update firmware before preserving diagnostic information.
Output and thermal control
Clean optics and air paths with the approved method
Dust and residue affect appearance and cooling, but an incorrect cleaning process can damage coatings, seals or electronics.
Inspect lenses, front covers, light guides and visible seals under suitable light. Use only cleaning materials and access procedures approved for the model. Avoid spraying liquid directly into the fixture. A residue that looks harmless when the fixture is off can scatter light, change the audience-facing lens appearance or bake onto a hot surface during operation.
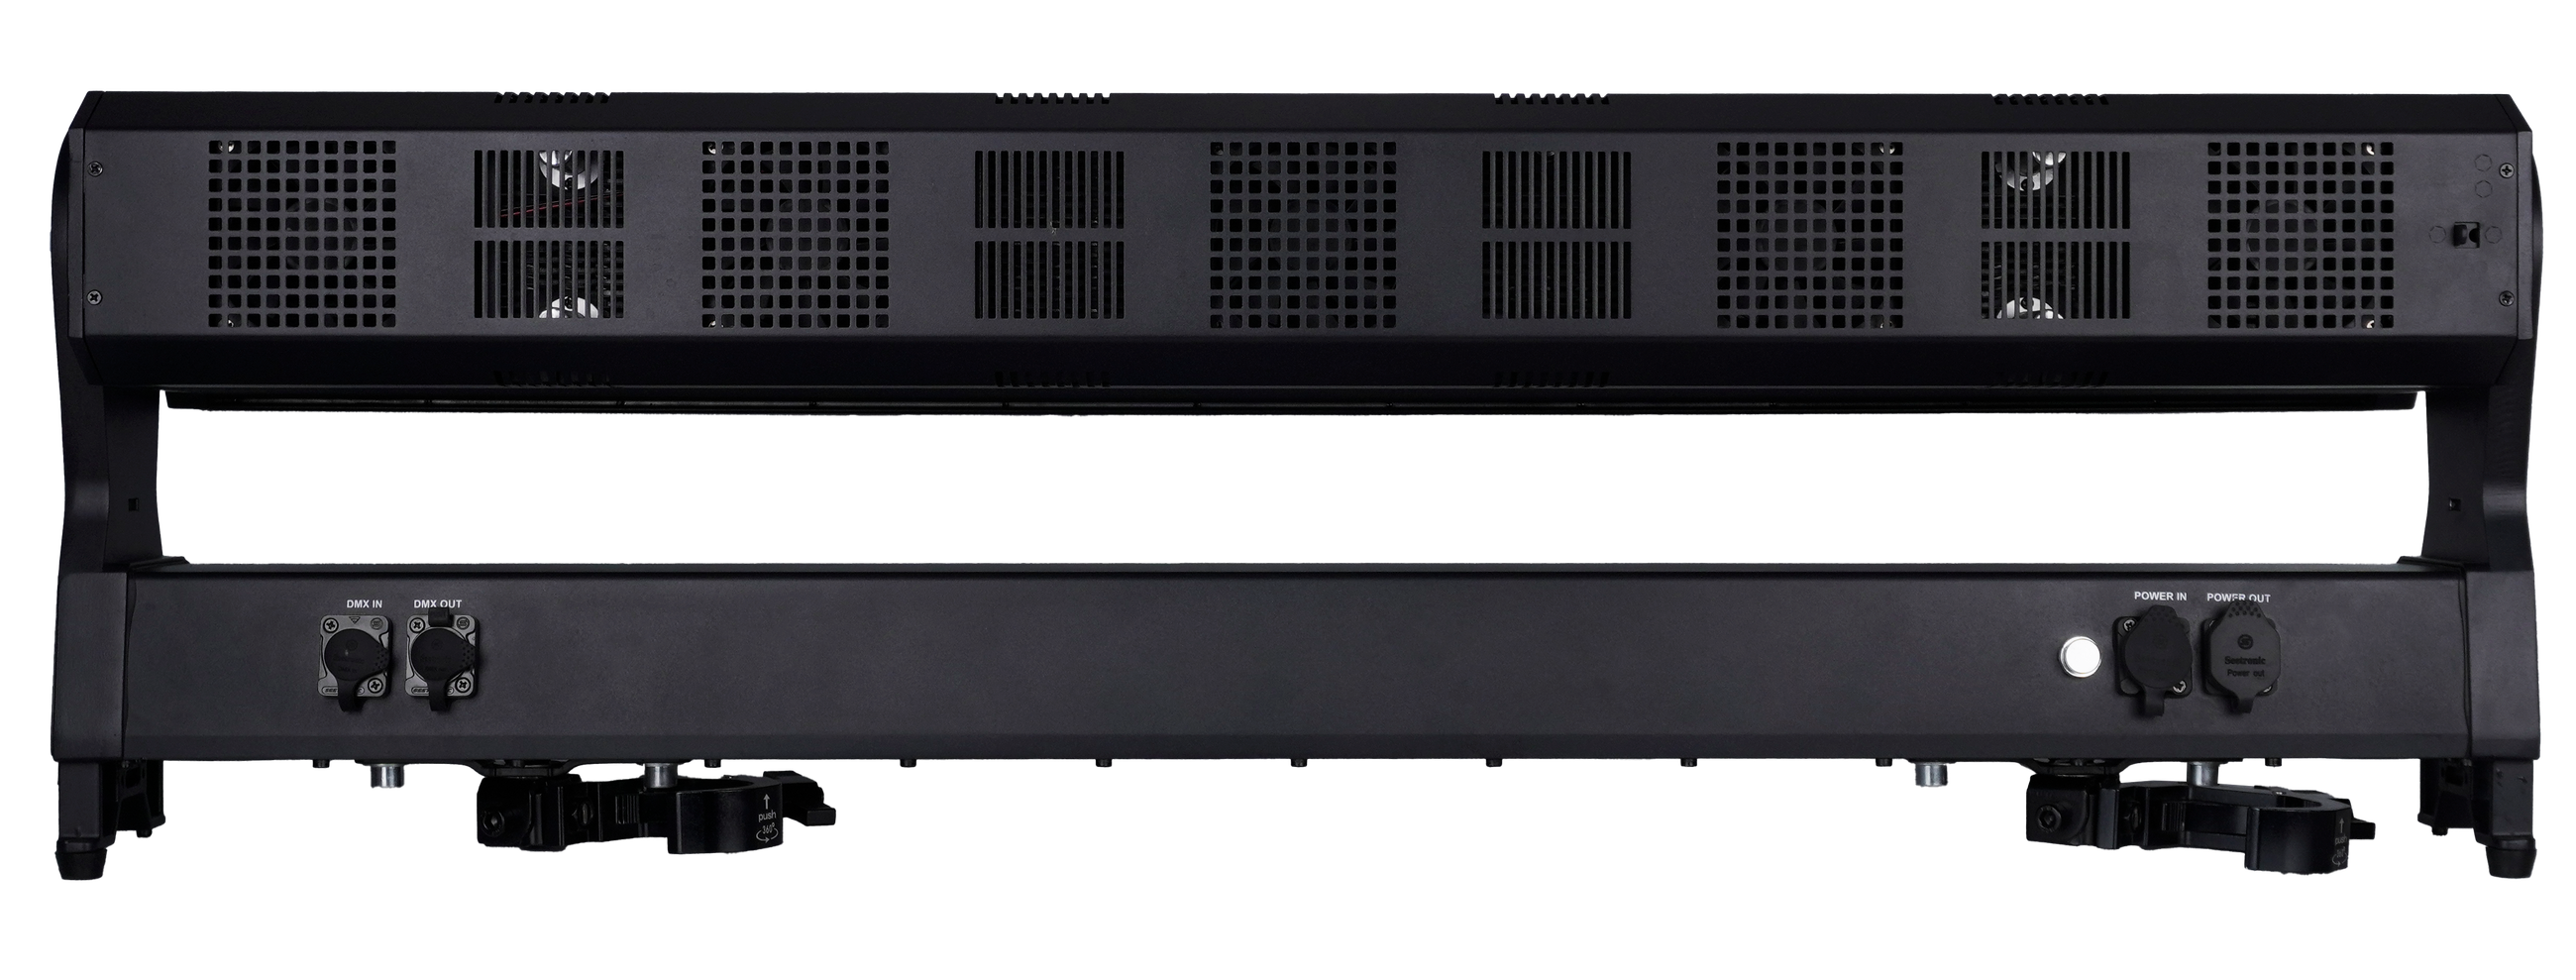
Check vents, fans and filters where provided. Remove external obstruction without pushing debris inside. Observe fan startup and mode behavior during a functional test. A fan that is noisy, slow or intermittent needs investigation; do not suppress a symptom by changing settings unless the approved manual describes that action. Keep intake and exhaust clearance in the rig and case plan.
Mechanical safety
Inspect yokes, bases, fasteners, brackets and safety points
Moving heads combine repeated pan/tilt motion with overhead rigging and frequent transport.
Check the head, yoke and base for cracks, deformation, unusual gaps, loose covers and missing fasteners. Inspect handles and feet because damage there can indicate a transport impact elsewhere. Examine approved brackets, clamps and safety attachment points for wear, distortion, corrosion and correct hardware. Replace questionable load-bearing parts only with approved components and procedures.
Run pan and tilt slowly and at show speed. Listen for grinding, clicking or sudden changes in motor sound. Watch for hesitation, drift, incorrect end position or repeated homing. Do not force a blocked axis by hand unless the manual explicitly permits it. If movement is irregular, isolate the unit and preserve the error report before opening the fixture.
Torque values, belt procedures, encoder calibration and internal access are model-specific. A generic online tutorial is not an approved service instruction. The maintenance record should cite the manual revision and technician. After any mechanical repair, repeat homing, full-range movement, position-recall and overhead-safety checks before returning the fixture to service.
| Observation | Immediate response | Follow-up |
|---|---|---|
| Loose external fastener | Remove from rigging until checked | Use approved fastener and torque procedure |
| Abnormal pan/tilt noise | Stop the movement test | Inspect through qualified service workflow |
| Cracked bracket or safety point | Quarantine fixture | Replace approved part and document retest |
| Position drift after reset | Record mode, cue and error | Check calibration/encoder process in current manual |
Power and data
Check cables, connectors, addressing and every control layer
A fault that appears to be a fixture problem may begin in power, data, profile or network configuration.
Inspect power and data cables for cuts, crushed jackets, bent contacts, contamination and unauthorized repairs. Confirm connectors latch correctly and strain relief is intact. Do not operate equipment with exposed conductors or heat-damaged connections. Match voltage, frequency, power distribution and protective devices to approved product documentation and local requirements.
On the control side, confirm address, personality, signal-loss setting and network configuration where applicable. Test dimmer, each color channel, strobe, zoom or focus, representative macros and pan/tilt. For pixel fixtures, test a cell map pattern that makes swapped or failed cells visible. Record the console profile and firmware used for the check.
ALP1980WX documents DMX512, RDM and six personalities with main-cell and halo functions. A maintenance team should not infer Art-Net or sACN for this model because the available source does not check those named protocols. The DMX channel planning guide provides a version-control checklist for profiles and firmware.
Release to service
Use a standard functional sequence after maintenance
A cleaned or repaired fixture should not return to stock until the affected and safety-related functions pass a recorded retest.
Post-maintenance function sequence
- 01Visual release check
Confirm all covers, fasteners, brackets, safety points, labels and connectors are present and secure.
- 02Controlled power-up
Observe startup, display, errors, fans and unusual odor or sound from a safe test position.
- 03Reset and movement
Run homing, pan/tilt ranges and repeatable position cues without obstruction.
- 04Light engine
Test dimming, each documented color, white or virtual presets and representative intensity levels.
- 05Optical functions
Exercise zoom, focus, rotation or other documented mechanisms through expected ranges.
- 06Effects and pixels
Check macros, rings, halos or cell patterns used by the fleet profile.
- 07Control and recovery
Test DMX/RDM or named network functions where documented, signal loss, power cycle and profile match.
- 08Sustained observation
Run a defined cycle long enough to observe cooling, errors and intermittent behavior.
The burn-in and aging-test framework can inform a sustained post-repair sequence. The duration and acceptance criteria should come from the service plan; the result does not prove rated life or certification.
If a repair addresses one symptom, still complete the general safety and functional release checks. For example, replacing a fan should be followed by controlled power-up, fan coordination, thermal observation and a complete movement/light test because internal service may affect cables or connectors outside the original fault.
Fleet intelligence
Turn service records and spare parts into purchasing project information
Maintenance data should influence warranty discussions, supplier checks and the next model selection.
Record asset ID, model, serial, dates, operating context, reported symptom, observed fault, errors, firmware, parts, technician, corrective action and retest result. Use consistent fault categories but preserve the original crew description. Track repeat failures and time out of service. This project information supports better root-cause discussions than unstructured messages or photographs without fixture identity.
For distributor and private-label fleets, AOLAIT OEM stage-lighting support can check documentation, labeling, packing and selected spare-parts requirements before the order. Browse all professional lighting products and the LED wash moving head category with service access and parts project information included in the comparison.
Conclusion
A repeatable maintenance process protects safety, availability and product knowledge
Preventive maintenance for LED moving heads combines exterior inspection, approved cleaning, mechanical and rigging checks, electrical/data check, functional testing and traceable records. It also defines a safety boundary: suspect fixtures are isolated, and internal service is performed by qualified personnel using the current model documentation.
For rental companies and distributors, the resulting history is a commercial asset. It reveals recurring transport or configuration problems, informs spare-parts planning and improves the next procurement decision. The objective is not merely to return one fixture to operation; it is to make fleet reliability and support more predictable.
RECOMMENDED PRODUCTS
Models to evaluate against your brief
We organize model-specific product facts and available technical files to support fixture comparison and project planning.
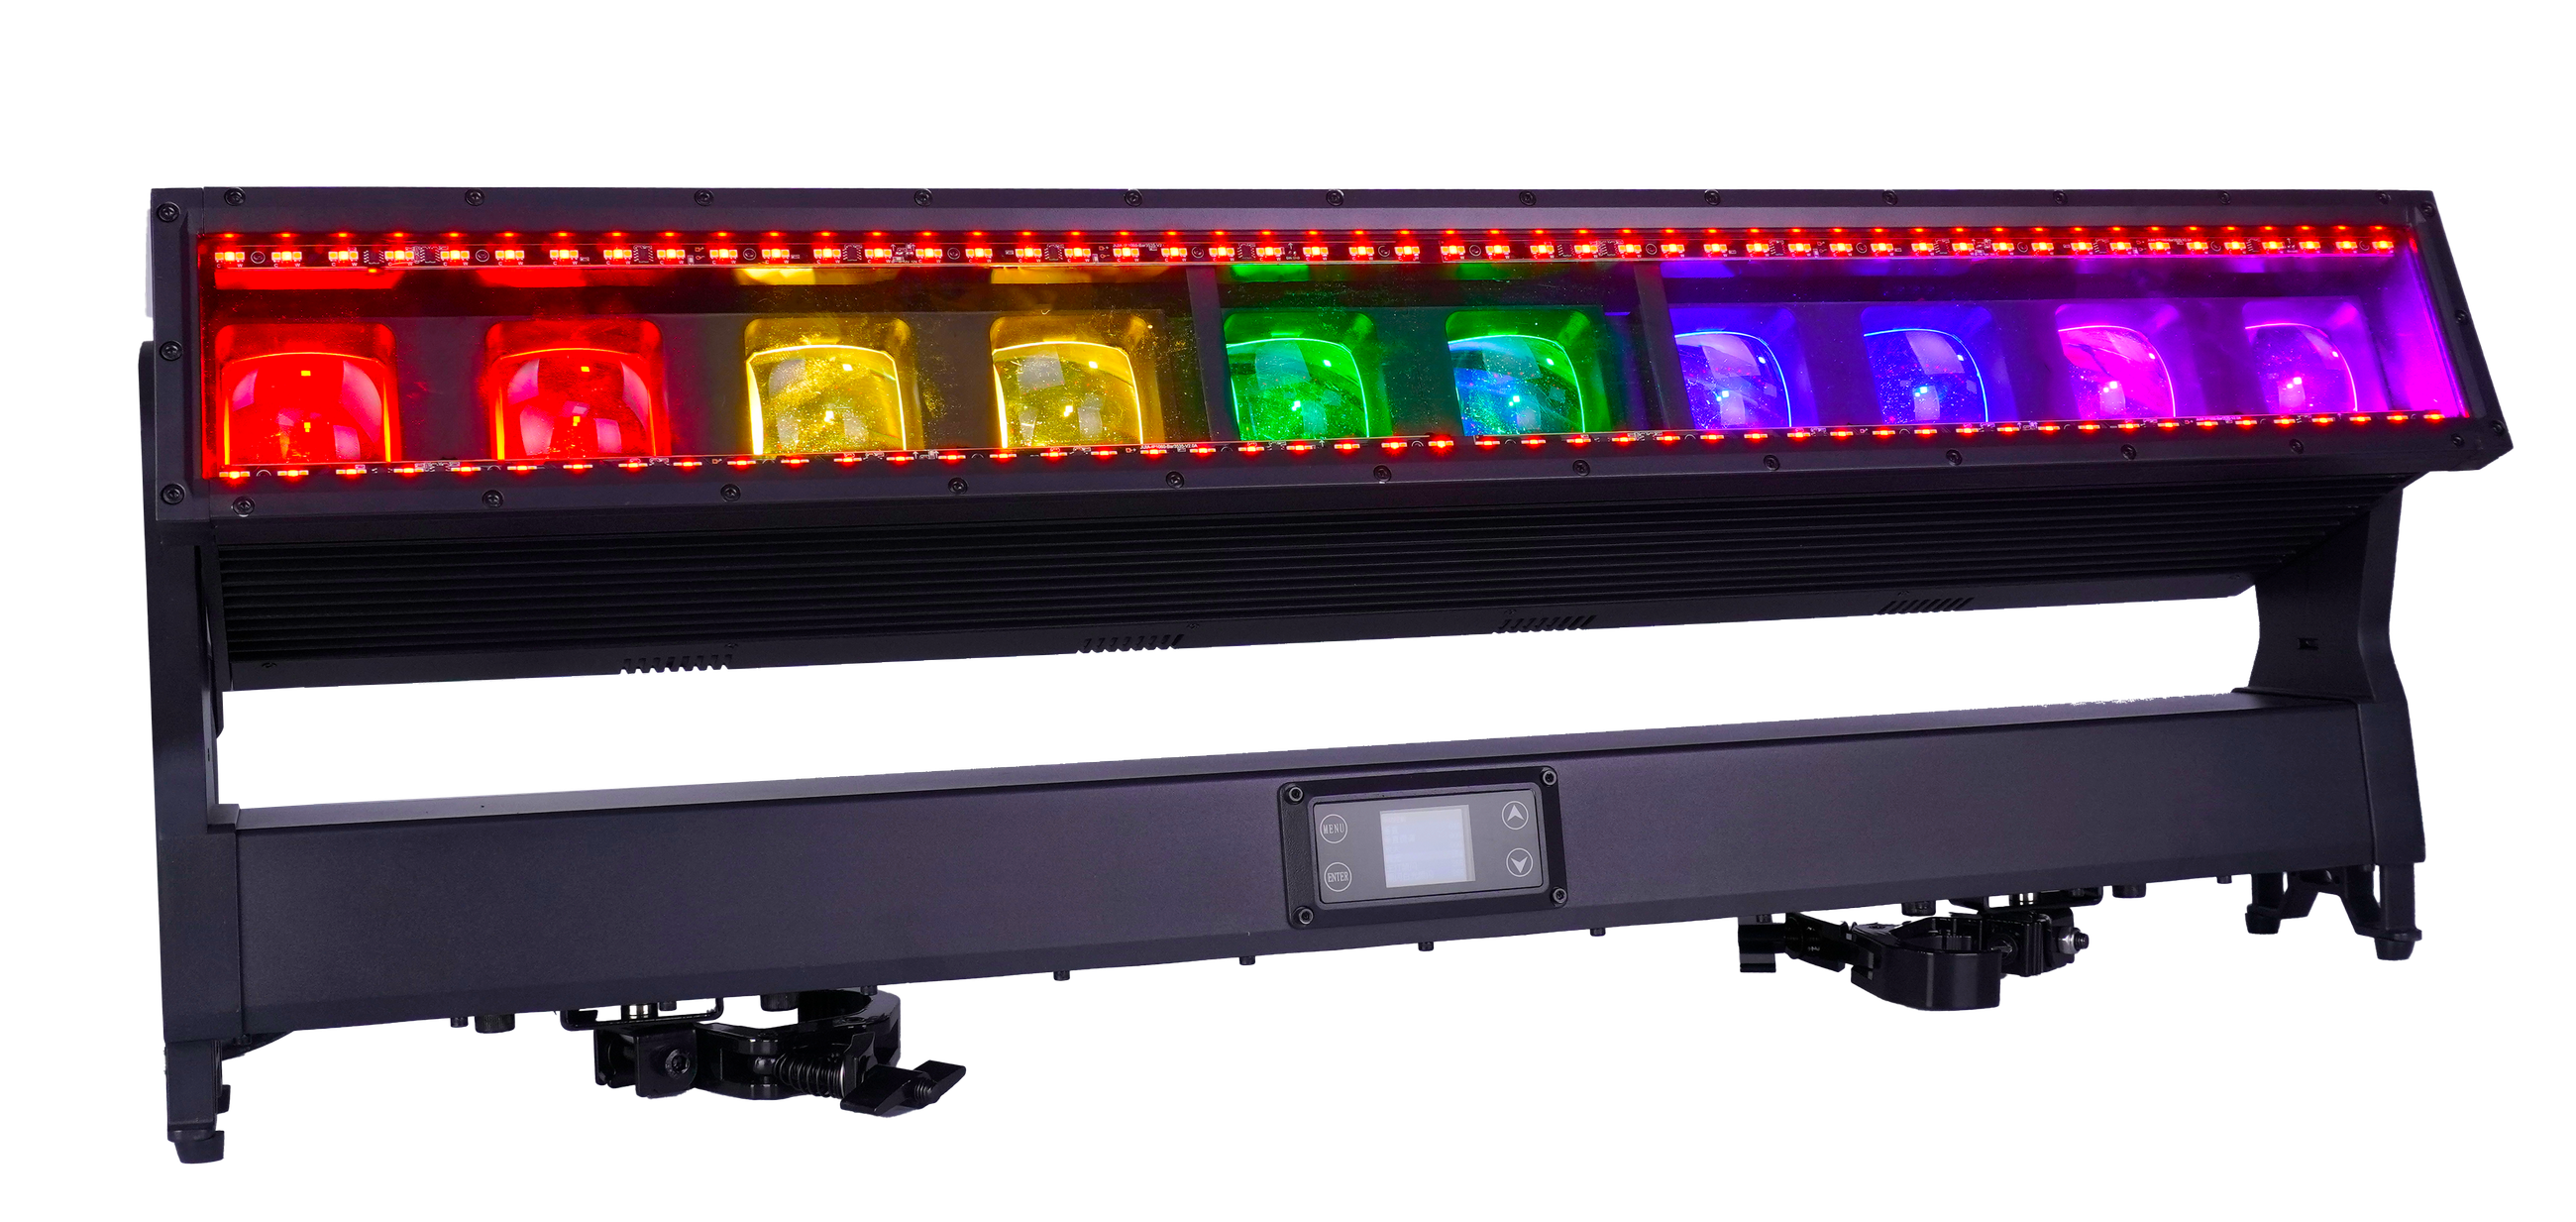
10×60W LED Moving Bar IP65
An IP65 linear Moving Bar platform with RGBW cells, separate auxiliary lines and extended control modes.
- 10 × 60W RGBW
- 5°–35° zoom
- IP65
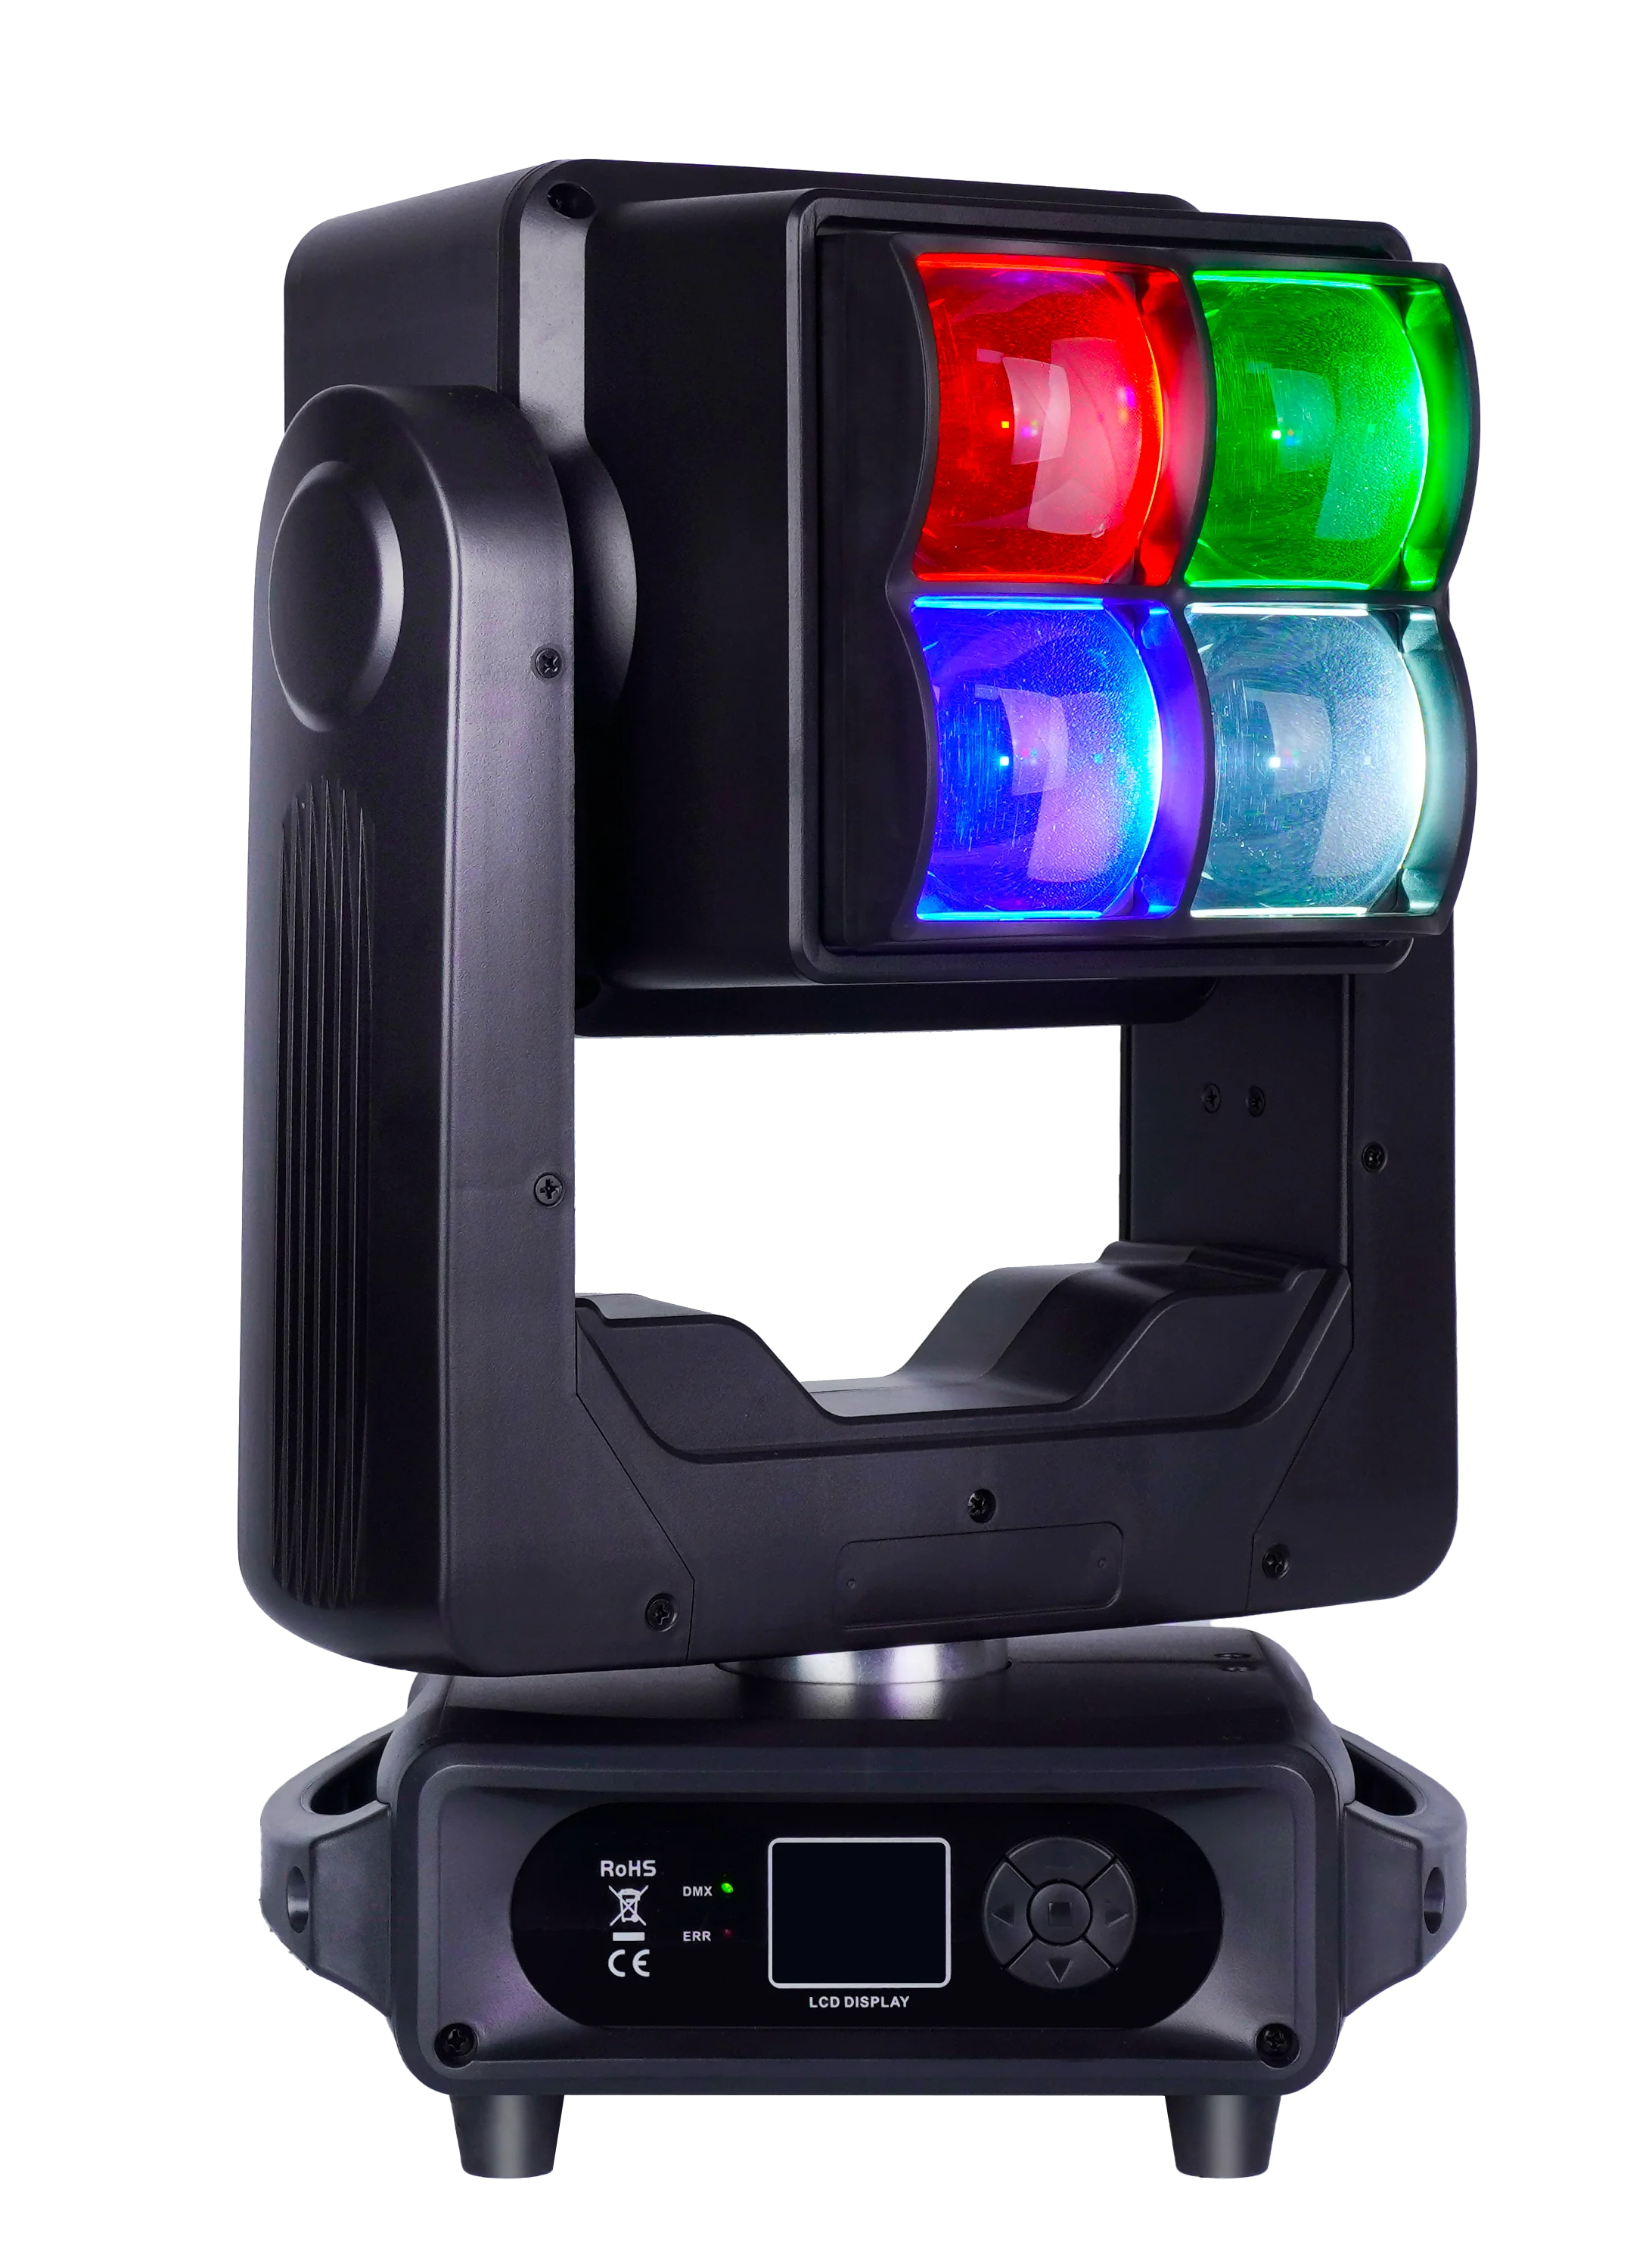
4×60W LED Wash and Strobe Double-Sided Moving Head
A dual-sided Wash and Strobe fixture for effect architecture, control and service-workflow planning.
- 4 × 60W RGBW
- Dual-sided structure
- IP20
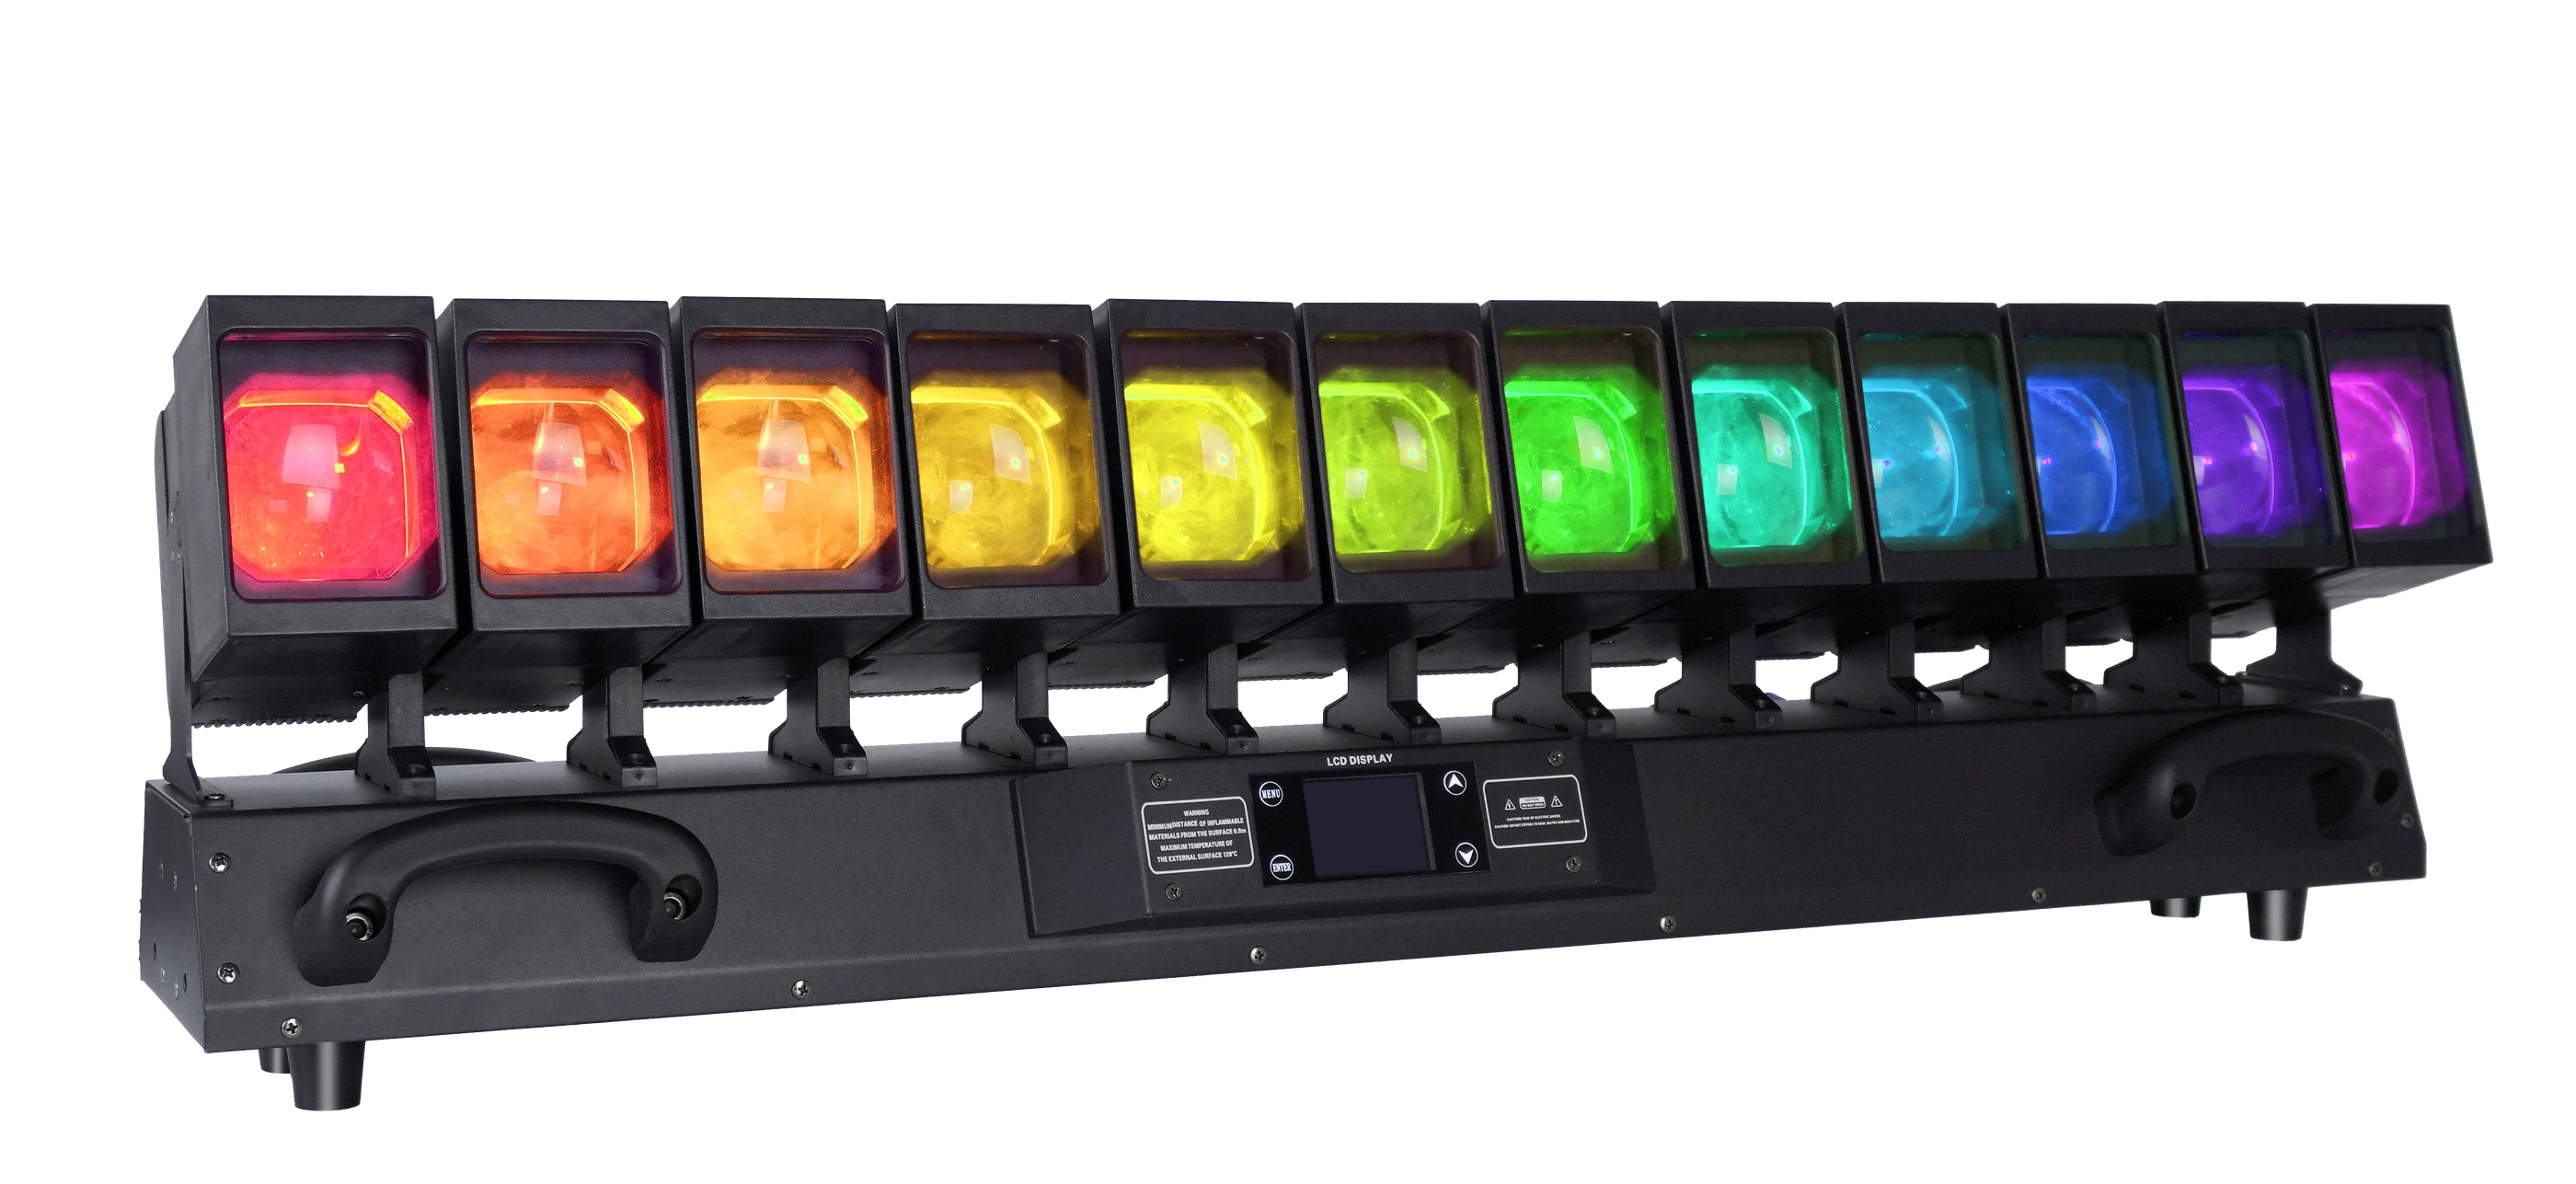
12×60W LED Moving Head Waver
An indoor twelve-head Waver platform for multi-head motion, control-footprint and maintenance planning.
- 12 × 60W RGBW
- IP20
- 20CH to 179CH
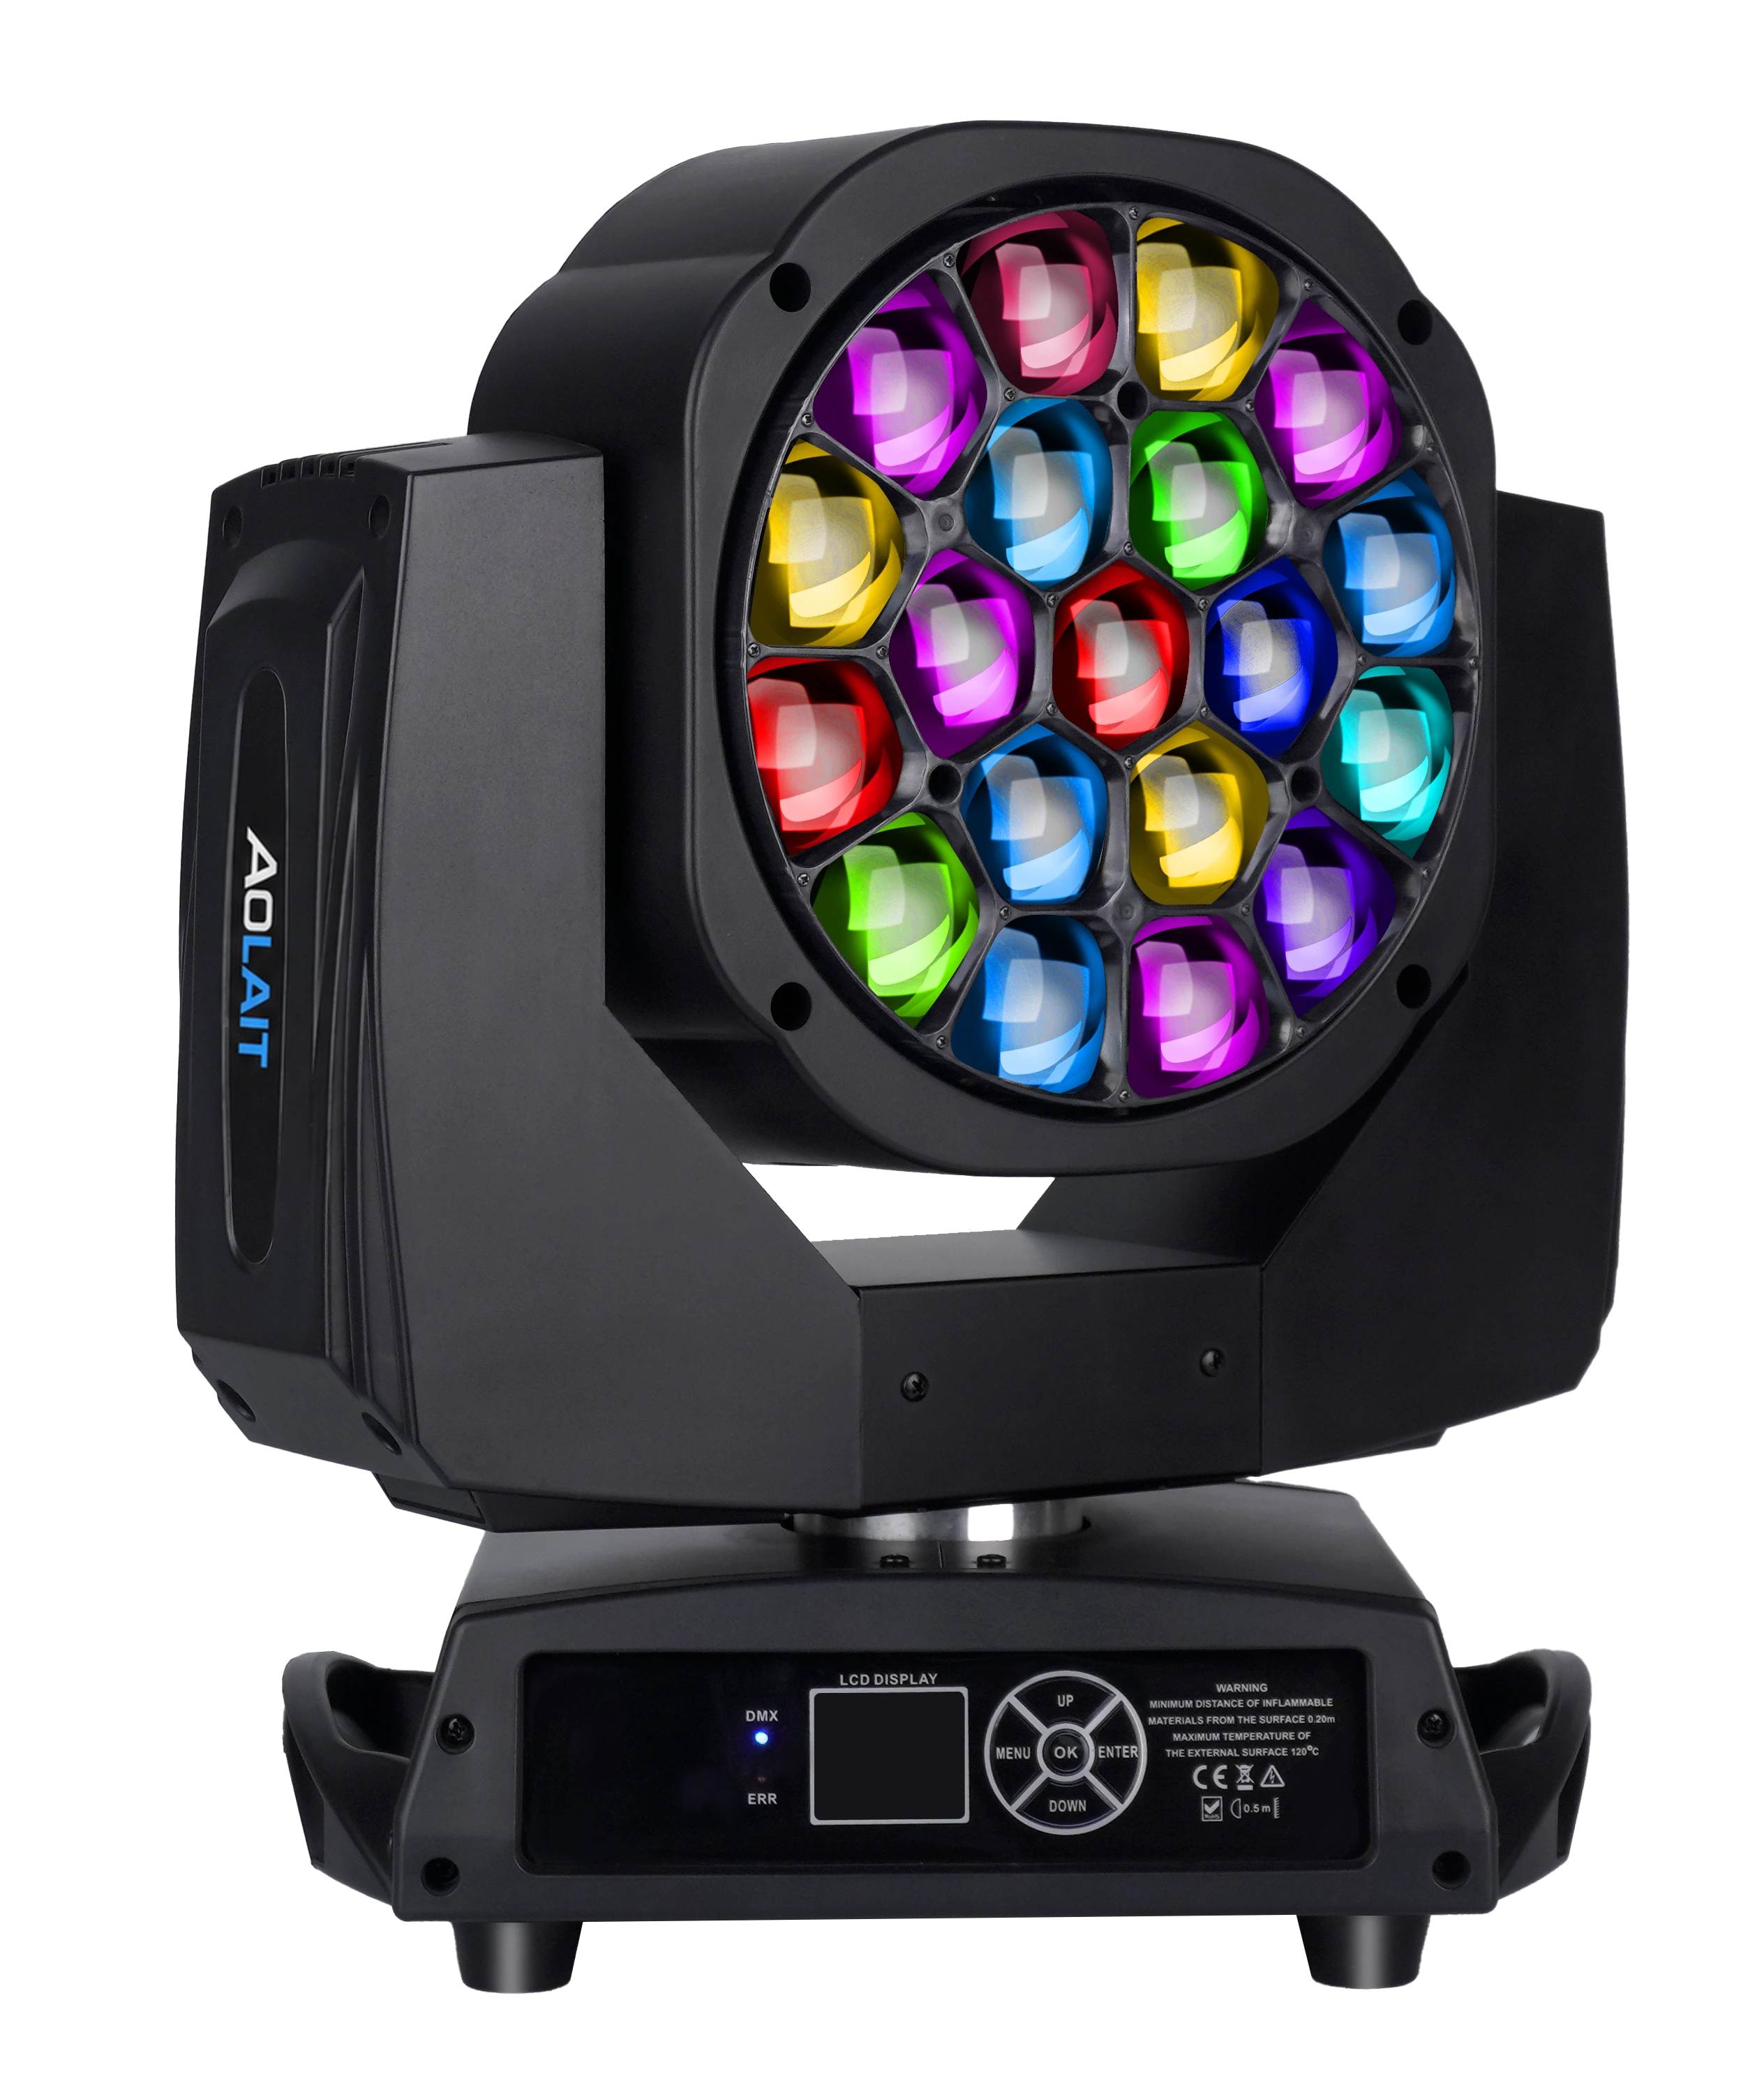
19×15W LED Bee Eye Moving Head
A compact nineteen-cell Bee Eye platform for pixel, zoom and console-profile planning.
- 19 × 15W RGBW
- 4°–60° zoom
- Seven DMX personalities
FREQUENTLY ASKED QUESTIONS