
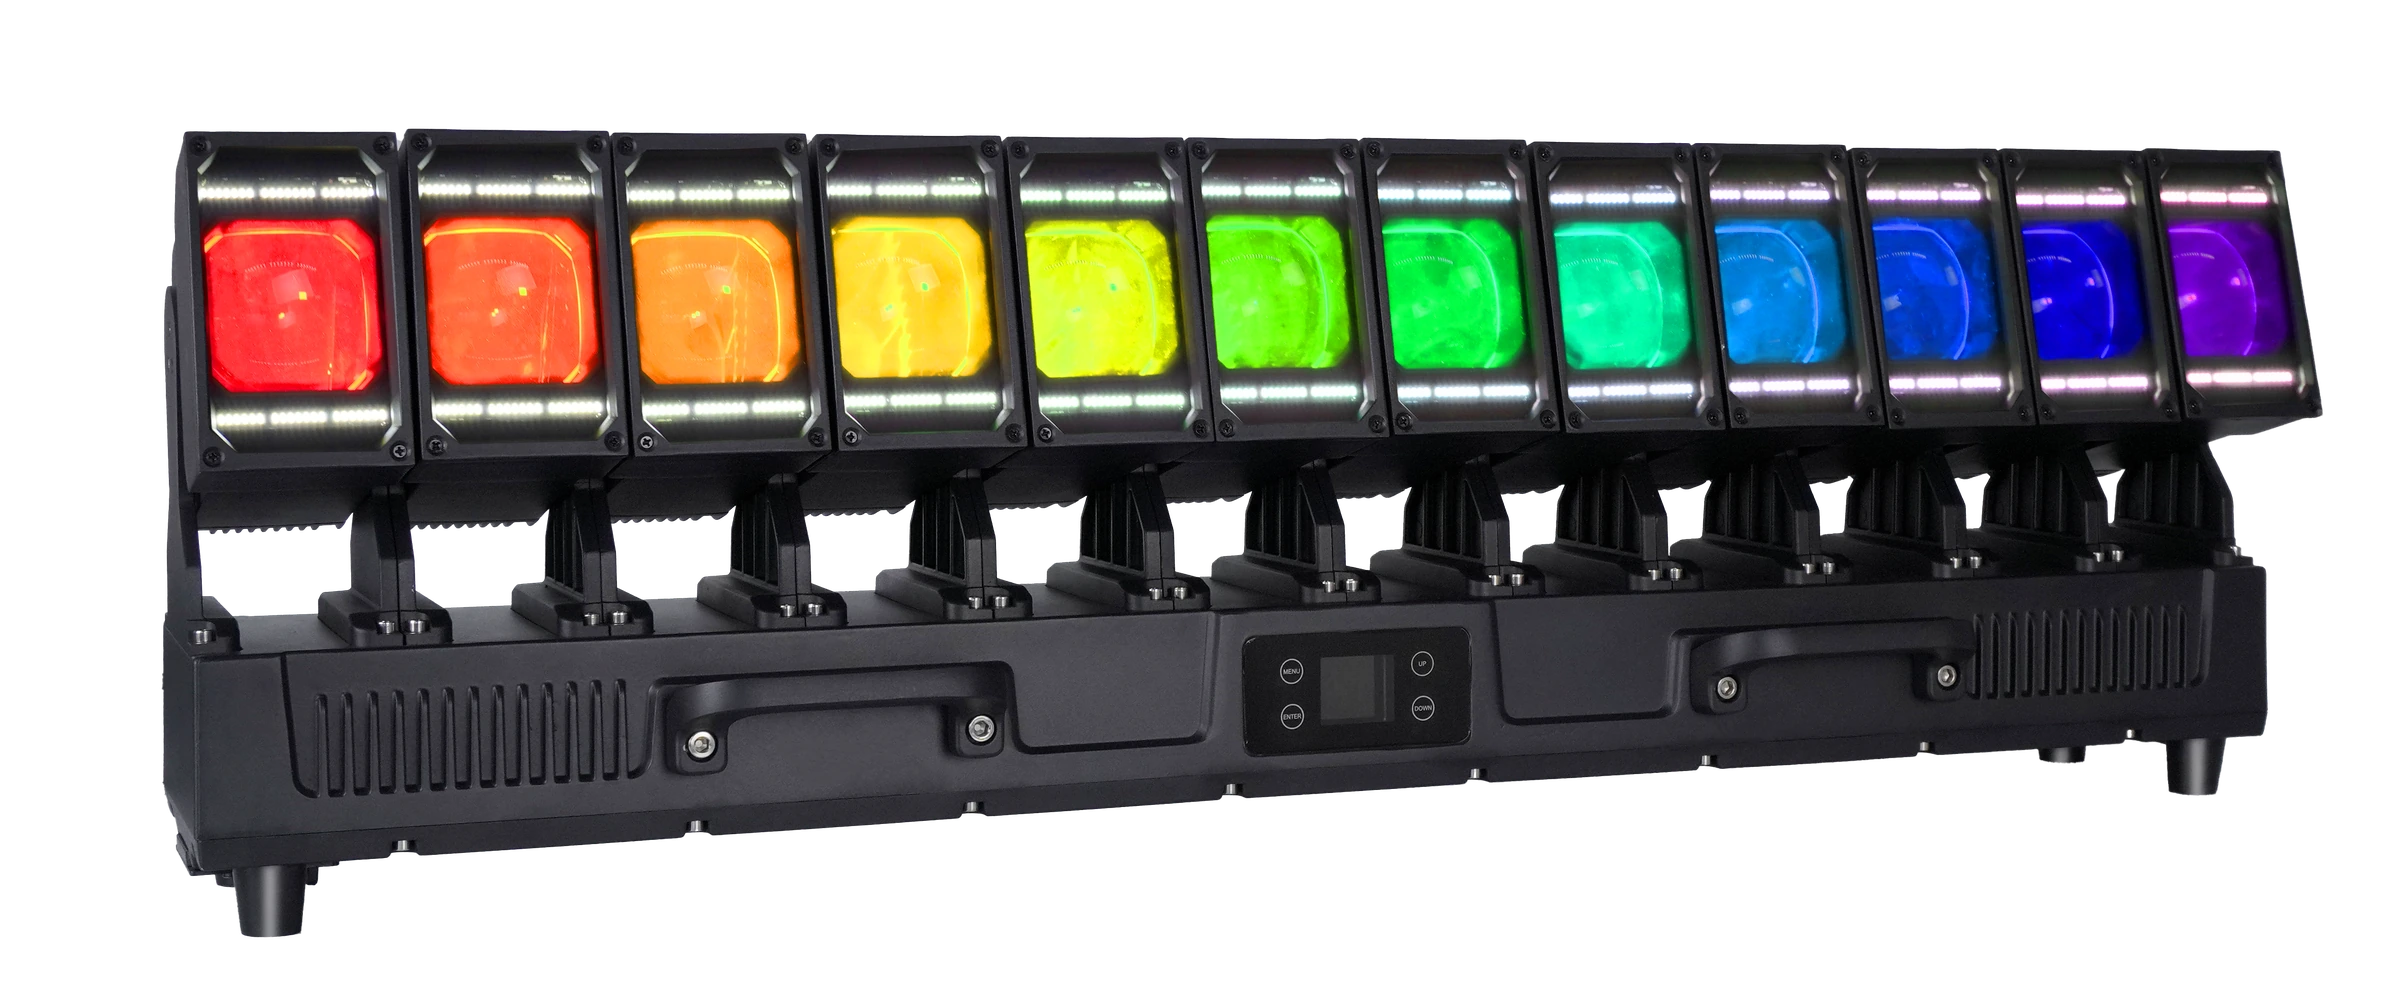
What Are Auxiliary LEDs on a Moving Head Bar?
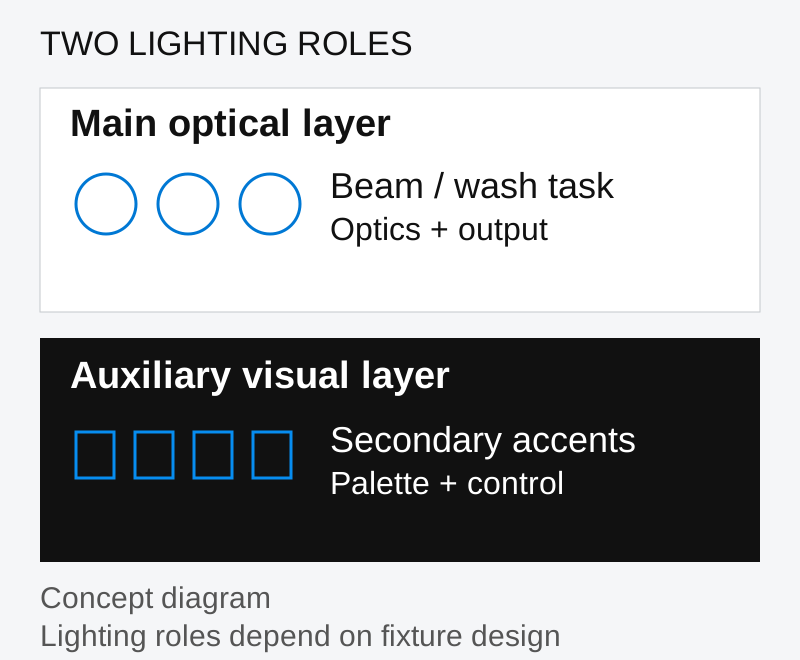
A multi-head bar places several main optical heads along a linear fixture. Each main head combines an LED engine with optics that shape its beam or wash. Auxiliary LEDs form an additional emitting area, which may sit around the heads, between them or along a separate strip. The extra area has its own visual role; it is not simply another main head.
Think of the main layer as the light you select for its beam shape, color mixing and coverage. Think of the auxiliary layer as another visible element in the stage composition. It may outline a row, add a contrasting accent or supply a rhythmic pattern. The exact role follows the actual hardware and channel map.
Aolait’s Waver platforms illustrate why this distinction matters. Their RGBW main heads and auxiliary arrays use different emitter configurations. An RGBW main engine does not make the auxiliary array RGBW, and an auxiliary white LED is separate from the white component inside a main RGBW package.
Main Beams and Auxiliary LEDs Do Different Jobs
Begin with the lighting task. If the bar must project a narrow aerial look or cover a scenic surface, compare its main optics at the intended throw. If it must also form a visible line in an audience-facing or camera-facing position, compare the auxiliary layer from that viewing angle. These are separate assessments.
| Comparison | Main beam / wash heads | Auxiliary LEDs |
|---|---|---|
| Control object | Main optical heads or their color groups | An auxiliary array, zones or addressable elements |
| Visual role | Beam shape, color and surface coverage | A second visible layer, accents or patterns |
| Parameters to check | Optics, zoom where available, dimming and output at the required throw | Emitter colors, grouping, dimming, effect access and visible intensity |
| Demo to request | Stable main-only cues at the relevant distance | Auxiliary-only cues where separate control is available, then combined cues |
A larger auxiliary LED count is not a main-beam brightness measurement. The two layers may use different packages, drive levels and optics. Nor does multiplying main-head count by nominal LED wattage give the complete fixture input power or its useful illumination at a target.
Keep camera exposure fixed when comparing layers. A close-up with clipped whites can conceal the boundaries between groups and make a low-detail array look like one continuous surface. Include a wider shot from the intended audience position so the secondary layer’s contribution can be judged in context.
White, Dual-White, Amber and RGB Are Different Configurations
“Auxiliary LEDs” identifies an additional light source, not a color specification. Ask for the emitter configuration before discussing effects. Four common descriptions need different checks:
- White: a white-emitting auxiliary layer. The word alone does not specify warm white, cool white, color temperature or color quality.
- Dual-white: two white types, commonly warm white and cool white. Check whether the selected mode exposes each type separately and how any mixing control behaves.
- Amber or golden amber: a named amber component. Keep the manufacturer’s exact designation; it is not interchangeable with a warm-white emitter.
- RGB: red, green and blue auxiliary output when the fixture actually contains and controls those components. Do not infer RGB from the main heads or a colorful product photograph.
A white-and-amber system can offer a different palette from warm-and-cool white. A CTO-style parameter may alter the balance of two components, but its label alone does not specify a calibrated color-temperature range. For a broadcast brief, request the actual emitter data and test the relevant camera settings.
These configurations are alternatives, not a list of features shared by every bar. ALP1080WV uses warm-white and cool-white auxiliary arrays; ALP1260WV uses white and golden-amber auxiliary LEDs. Neither configuration should be relabelled RGB auxiliary lighting. Choose the palette that fits the cue, then check its control depth.
Auxiliary, Backlight, Halo and Strobe: Check the Actual Design
The terms describe different aspects of a fixture. Auxiliary describes a secondary source. Backlight often describes a luminous area behind or between primary optics. Halo describes a ring-like arrangement around an optical element. Strobe describes a flashing function or, in some products, a dedicated optical system. One fixture can combine some of these features without making the names equivalent.
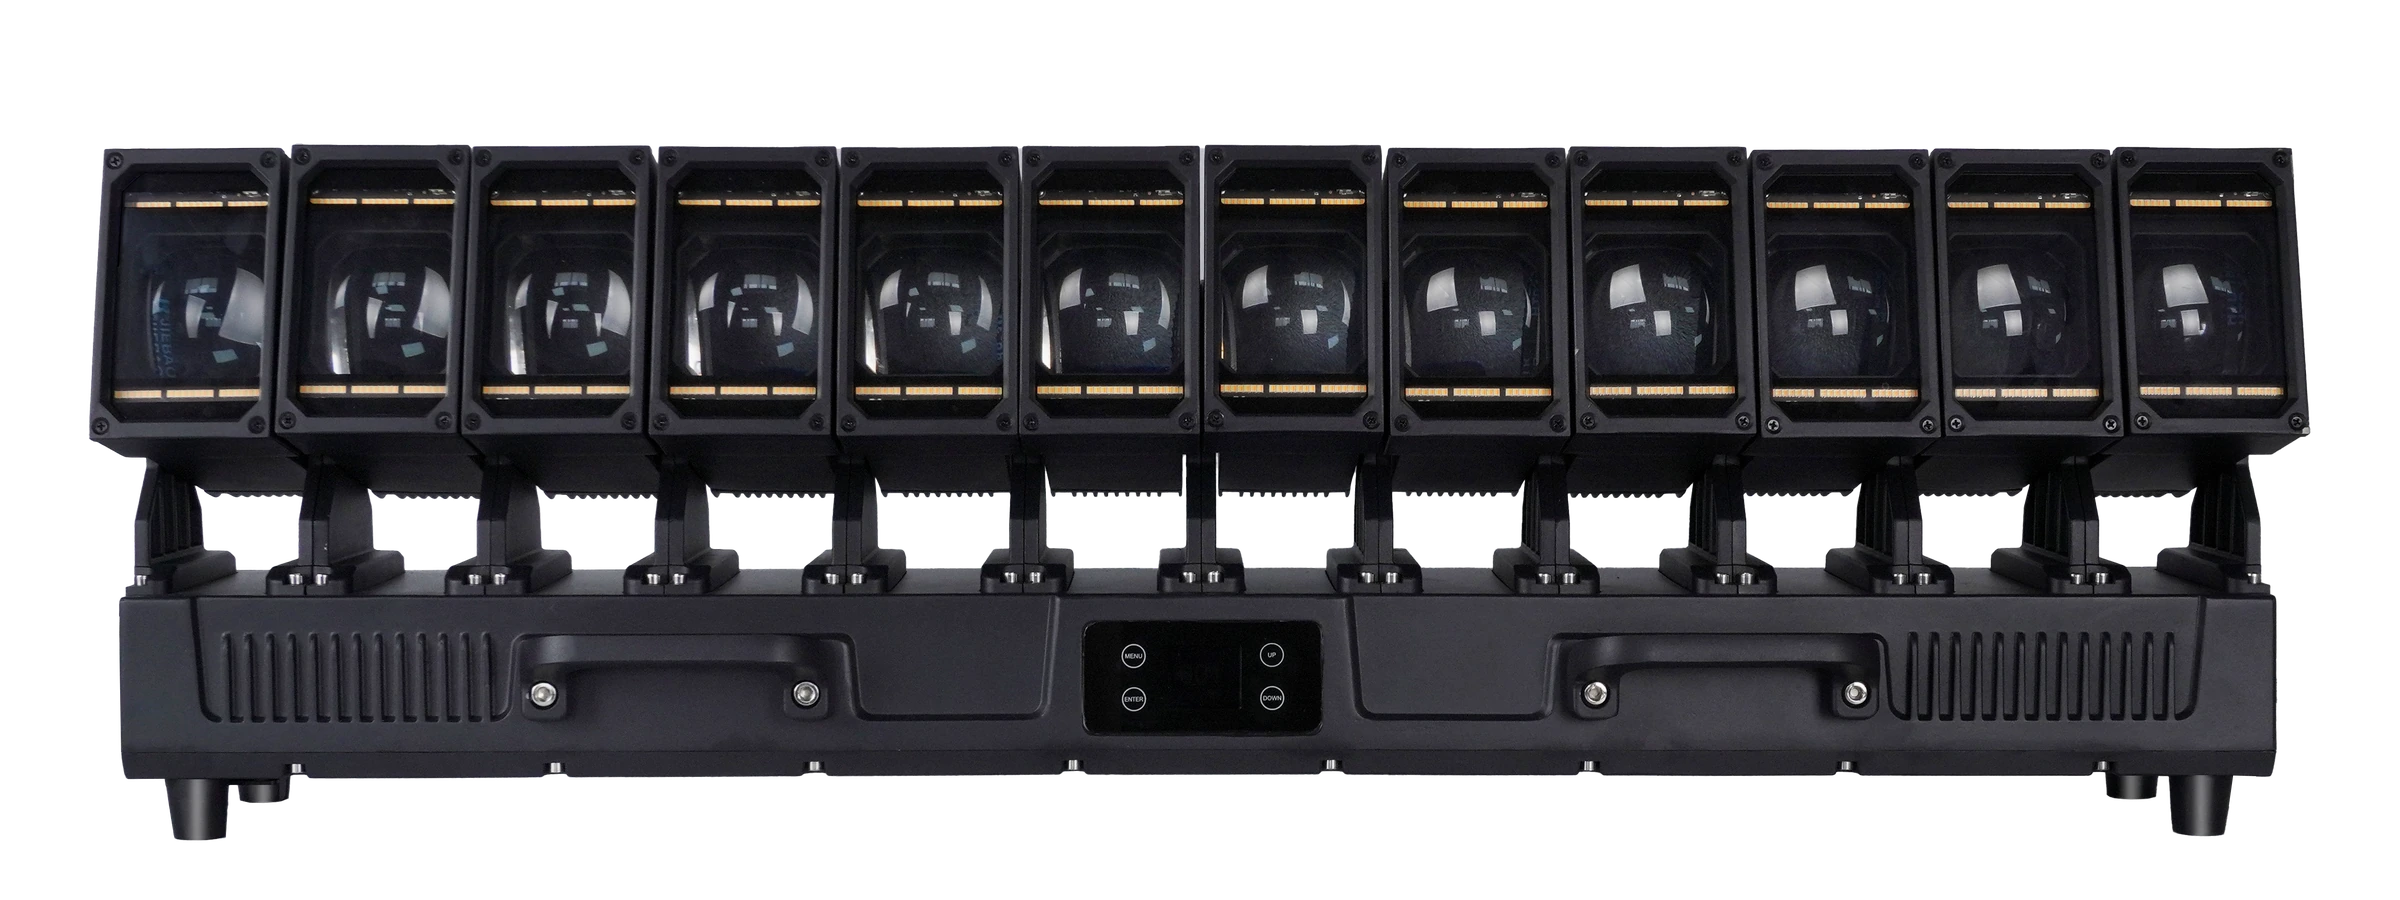
On a multi-head bar, identify where the secondary LEDs sit and what the viewer actually sees when the heads move. A strip fixed to the base and an array that follows a head can behave differently in a composition. Use an unlit product view and a running demonstration rather than assuming a layout from the word “backlight.”
A channel labelled strobe does not by itself qualify the fixture as a replacement for a dedicated professional strobe or wash fixture. That choice needs output, field, duty-cycle and control information for the intended role. Similarly, a visible auxiliary line does not demonstrate long-throw wash coverage.
For the broader relationships between wash, cells and face lighting, read our Wash FX, pixel and backlight guide. Here, the selection question is narrower: which additional emitters a multi-head bar contains, which palette they provide and how the chosen personality exposes them.
Separate LEDs Do Not Automatically Mean Separate Pixel Control
Physical separation and control separation are different. Many visible LEDs can share one control value. A moving pattern can also come from an internal effect engine rather than independently addressed pixels. Read the selected personality’s channel table and its physical group map together.
- Whole-array control changes the auxiliary layer as a group. Separate color components may still have their own values.
- Zone control exposes sections of the array. Each zone can contain multiple emitters, so the zone count is not the LED count.
- Direct pixel control exposes individually addressable data elements. Each element still needs a defined position and may represent several physical LEDs.
- Built-in effect macros select patterns generated inside the fixture. Speed, fade or direction controls do not turn a macro into arbitrary pixel mapping.
Check auxiliary dimming, color-component access, strobe, zones and macros in the mode you intend to patch. A longer footprint may add movement resolution or main-head color channels as well as auxiliary controls. Total channel count alone cannot tell you the auxiliary pixel count.
Ask for a demonstration using the exact console profile, mode and firmware combination intended for the rig. Our DMX channel planning guide covers patch capacity and profiles in more detail. For the distinction between mechanical motion and lighting control, read our independent tilt vs pixel control guide. Auxiliary-array addressability remains a separate selection question.
What to Compare on ALP1080WV and ALP1260WV
Our two Waver platforms provide useful examples of different main and auxiliary configurations. Compare their actual lighting layers before selecting by head count, nominal wattage or the phrase “dual-layer moving head bar.”
| Item | ALP1080WV | ALP1260WV |
|---|---|---|
| Main source | 10 × 80W RGBW | 12 × 60W RGBW |
| Auxiliary palette | Warm white + cool white | White + golden amber |
| DMX personalities | 29 / 56 / 144 / 216 / 262 / 282CH | 26 / 59 / 128 / 152 / 182 / 314 / 329CH |
ALP1080WV: ten 80W main heads with dual-white auxiliaries
The ALP1080WV 10×80W LED Waver Moving Head combines ten RGBW main heads with warm-white and cool-white auxiliary arrays. Its compact and extended personalities provide different access to head and auxiliary functions. For the secondary layer, compare the warm/cool balance, auxiliary dimming and patterns available in the chosen mode. Request the corresponding group map before planning a spatial chase.
ALP1260WV: twelve 60W main heads with white and golden amber
The ALP1260WV 12×60W LED Waver Moving Head pairs twelve RGBW main heads with 432 × 1W bi-color auxiliary LEDs in white and golden amber. Auxiliary color control, CTO, strobe and built-in effects provide a second programming layer. The personalities differ in auxiliary grouping, so 432 physical auxiliary LEDs must not be read as 432 separately addressable pixels.
For either platform, specify the required auxiliary palette, whether the show needs direct zones or macros, the console profile and the intended viewing distance. For outdoor use, include the production unit’s ingress rating, connector and seal conditions in the configuration check. Emitter configuration alone cannot settle an environmental or installation requirement.
What Should an Auxiliary-LED Demo Show?
Give the supplier a short cue brief tied to the intended stage position. Request the model, selected personality and console profile with the recording. A product montage can introduce a fixture, but it is not a substitute for a repeatable demonstration of the parameters your show needs.
- Main layer: stable colors, low-level dimming and the relevant beam or wash look. Where separate layer control is available, keep auxiliary output dark.
- Auxiliary layer: each available color component, steady output, fades and the required patterns. Where separate layer control is available, keep the main heads dark.
- Combined cue: a restrained auxiliary layer with main output, followed by the balance required for an accent cue. Keep exposure and viewing position unchanged.
- Control method: show whether the effect uses a whole-array value, a direct zone sequence or a macro. If direct elements are exposed, demonstrate their order using the intended profile.
Only request isolation that the fixture and selected mode support. If an effect links both layers, ask to see that relationship and the controls that change it. Start with stationary heads when judging auxiliary intensity; add movement afterwards to see whether the secondary layer remains useful at the required angles.
Include a full-fixture view and a shot from the intended audience or camera position. For filmed productions, test the actual shutter, frame rate and dimming range. Save the cue values and mode with the shortlist so later demonstrations compare the same functions rather than different automatic programs.
FREQUENTLY ASKED QUESTIONS